
背景
图片上传一般都是通过调用文件上传接口,返回图片地址,我们用拿到的图片地址进行相应操作,如表单提交等;
但是最近有一个朋友私信我,他们目前没有做图片管理,所以需要前端将图片转换为 base64 的形式进行上传,将图片转化为 base64,然后提交这个转换后的字符串。
接下来我们就做了一个上传图片后隐藏上传按钮,可以预览,可以删除的功能。
实现方式
通过 element-ui 提供的upload方法进行上传,获取上传的file文件,进行转化,提交。
实现代码
HTML 代码:
  <div >
    <el-upload
      :
      action=""
      :on-change="getImageFile"
      :on-remove="handlePicRemove"
      :on-preview="handlePicPreview"
      :limit="1"
      list-type="picture-card"
      :auto-upload="false"
    >
      <i ></i>
    </el-upload>

    <div >下面是用来回显的图片</div>

    <el-image :src="imageUrl" >
      <div slot="error" >
        <i ></i>
      </div>
    </el-image>

    <el-dialog :visible.sync="dialogVisible">
      <img width="100%" :src="dialogImageUrl" alt="" />
    </el-dialog>
  </div>
</template>
JS 代码:
export default {
  data() {
    return {
      imageUrl: "",
      fileList: [],
      dialogImageUrl: "",
      dialogVisible: false,
      hideUploadEdit: false, // 是否隐藏上传按钮
    };
  },
  methods: {
    // 获取图片信息
    getImageFile(file, fileList) {
      console.log("fileList", fileList);
      this.getImageBase64(file.raw).then((res) => {
        console.log("res", res);
        this.imageUrl = res;
      });
      // 大于 1 张隐藏
      this.hideUploadEdit = fileList.length >= 1;
    },
    //转换成 base64 方法
    getImageBase64(file) {
      return new Promise(function (resolve, reject) {
        let newImagereader = new FileReader();
        let imgInfo = "";
        newImagereader.readAsDataURL(file);
        newImagereader.onload = function () {
          imgInfo = newImagereader.result;
        };
        newImagereader.onerror = function (error) {
          reject(error);
        };
        newImagereader.onloadend = function () {
          resolve(imgInfo);
        };
      });
    },
    //删除
    handlePicRemove(file, fileList) {
      this.hideUploadEdit = fileList.length >= 1;
      this.imageUrl = "";
    },
    //预览
    handlePicPreview(file) {
      console.log("file", file);
      this.dialogImageUrl = file.url;
      this.dialogVisible = true;
    },
  },
};
CSS 代码:
.main {
  width: 400px;
  height: 500px;
}
.martop {
  margin-top: 20px;
}
.imgwidth {
  width: 100px;
  height: 100px;
}
.image-slot {
  width: 100px;
  height: 100px;
}
.image-slot i {
  font-size: 100px;
}
.hide .el-upload--picture-card {
  display: none;
}
实现效果
上传前:
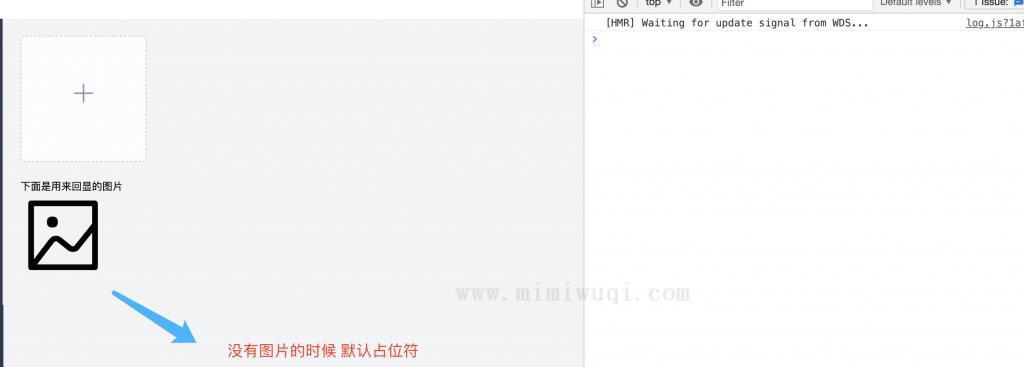
这样就可以实现效果了,当然这只是一个比较简单的 demo,大家可以根据自己项目进行修改。